Ironically, if I had a baby gate this whole project would have been a lot faster, but, little by little this week the project came together in the evenings.
First step was drawing up plans which was primarily Adam's task. We decided on a free standing gate with five panels connected with hinges and a door. This gate from Dynamic Accents was the design inspiration: http://www.dynamicaccents.com/products/highlander-walk-through-gate
Home Depot was our one stop shopping where our total came to $84.00. We bought the following:
23 2x2x36 inch dowels
5 packages of hinges (2 per pack)
1 bottle of original purpose Gorilla Glue
1 bottle of black glossy spray paint
1 package of 32 ct 2 1/2" wood screws
1 set of drill bits with a 7/8" included
1 package of 17' brown rubber door sealer strip
9 1/2" 9' electrical conduit pipes
First step was to have the Home Depot personnel cut down our dowels to the desired height of the gate, and subsequent different measurements to form the walk through gate portion.
Here are those dowels having sweet fellowship on the garage floor before being assembled.

Next we measured and marked the spacing of spindles. After it was marked we used our drill spade bit to create our indentations. If you have a drill press machine you would know that equipment is superior, but we didn't feel like buying at $120 machine for this one project. I'm sure you understand.


Next we used a simple hand saw to cut our pvc pipes to our measured lengths.
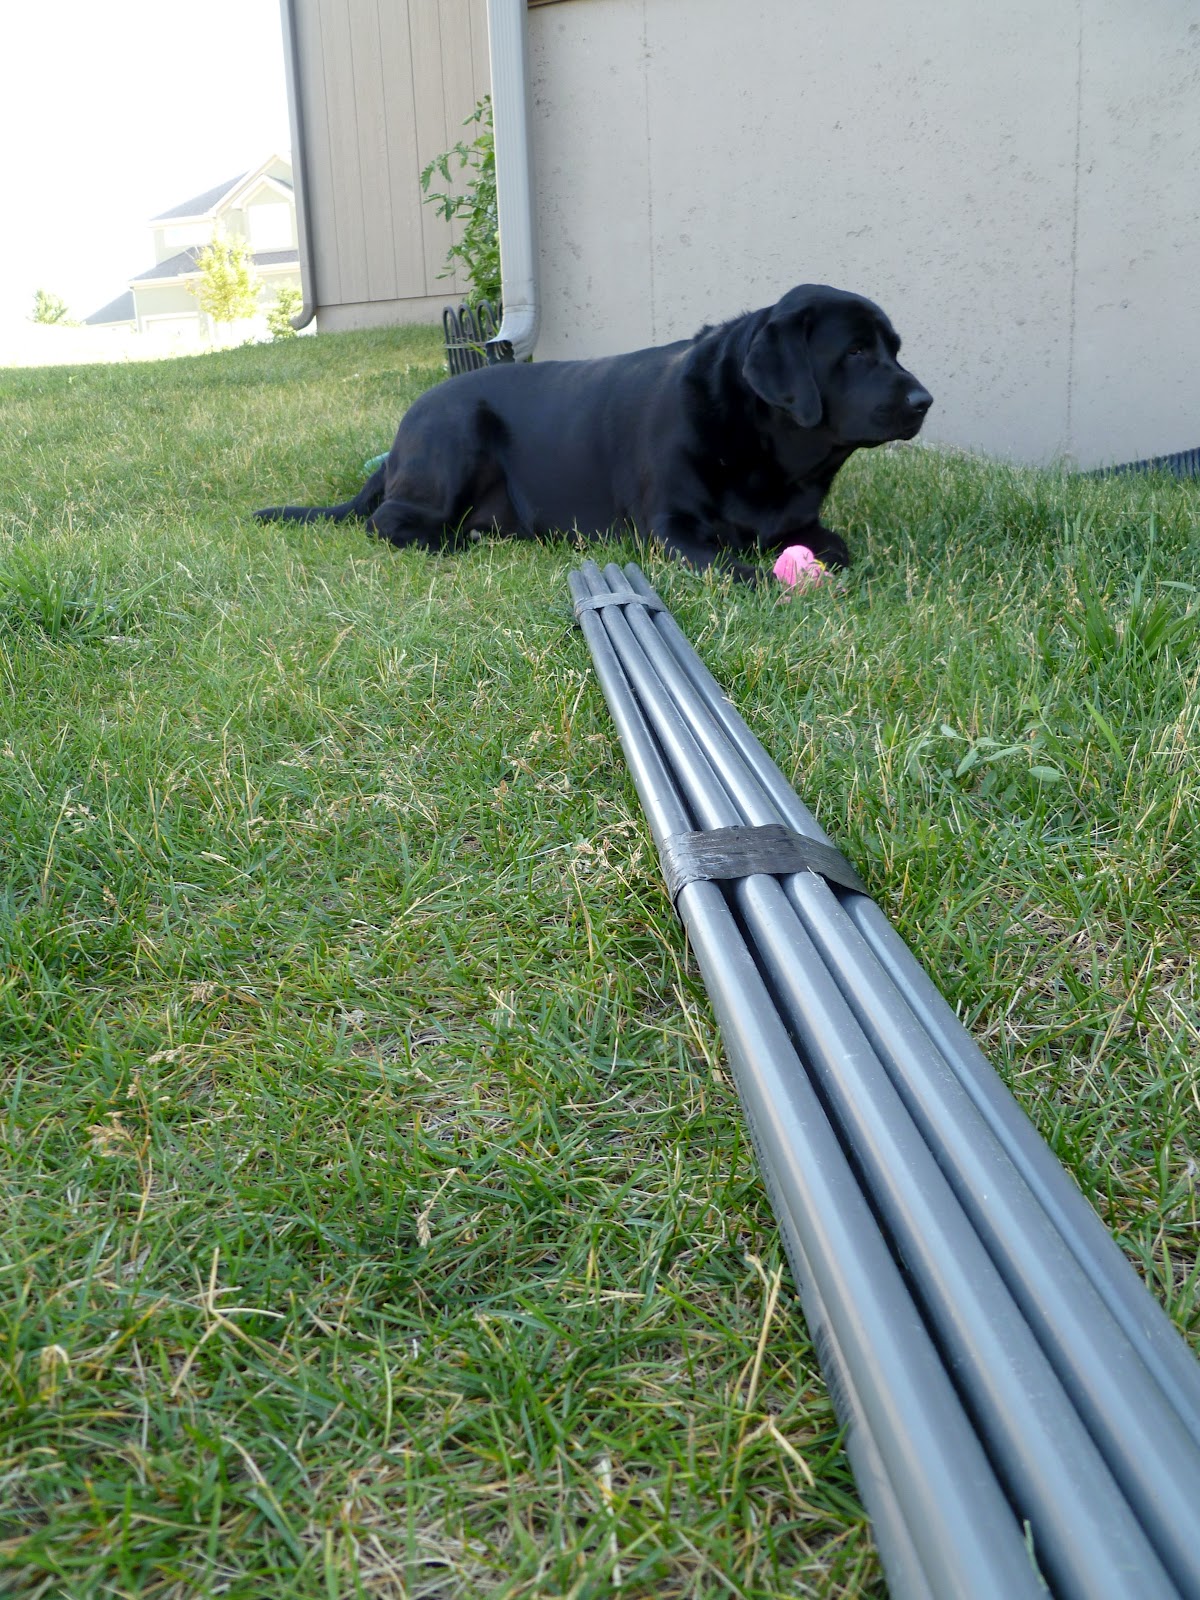

A baby could saw through these poles. I didn't verify using Emily, but I think that's a fair statement.

Next we followed the instructions of the Gorilla Glue and secured the pvc poles into their new homes. Emily is kindly pointing out the glue she was not allowed to play with.

After the glue dried about 2 hours later we secured our end wood pieces to our panels using wood screws.


Now for the hinges. One major tip for the screws and hinges are to be absolutely in the center of dowels to avoid any splintering or cracking.

Last but not least the bolt was added to the walk through gate.

Now for our home, we have mostly wood floors and so we had one more product to apply to the bottom of each of our five panels. We used a rubber weather seal that is typically used around doorways, but it was the perfect solution to add resistance to the gate being pushed on, and also protection on our wood floors.

THE END. If you need additional answers on any part of this process, just ask! Here's a picture of the final project.

No comments:
Post a Comment